The motorcycle helmet meets the following safety standards:
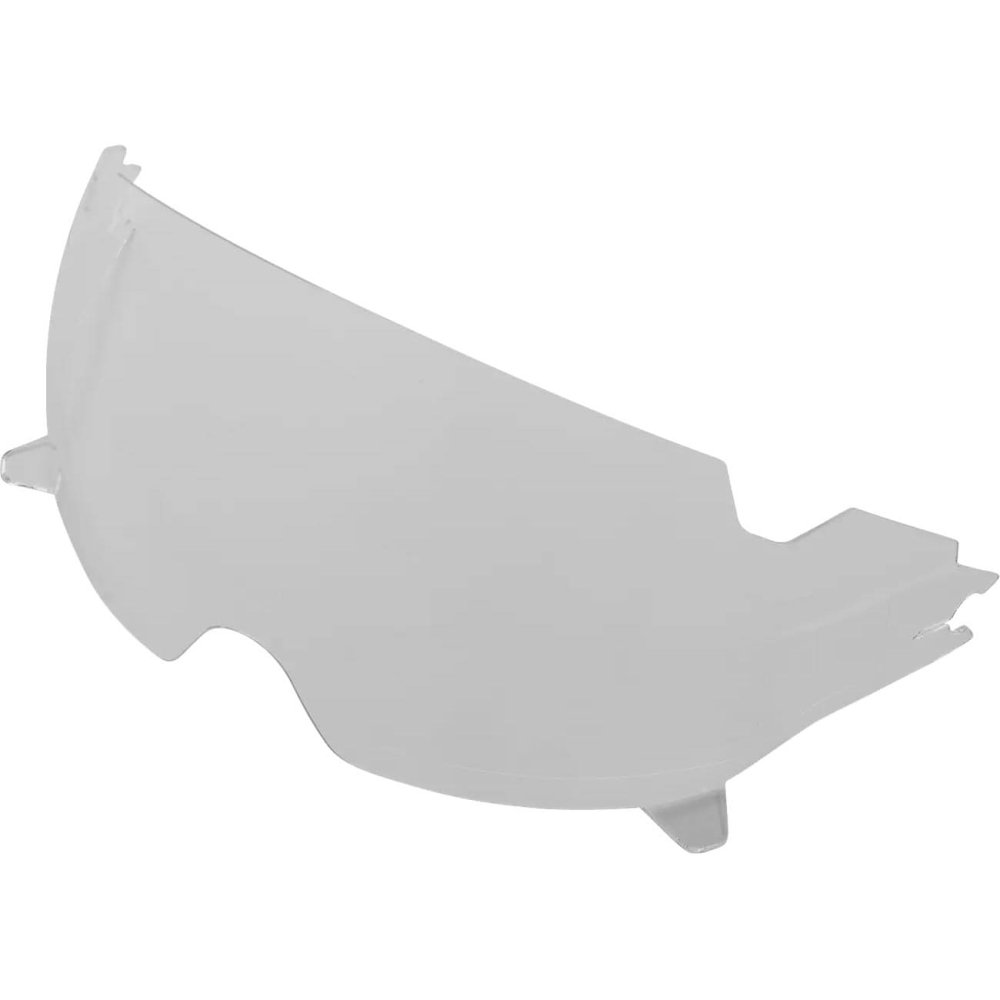
Before repairing or replacing helmet parts, familiarize yourself with the component names:


Read the entire manual before using the helmet and keep it. It contains information needed for proper use and extending the life of the helmet.
WARNING: motorcycling is dangerous. No helmet can protect the wearer from all possible impacts. Always wear a helmet, eye protection and other riding gear when riding: protective clothing, gloves and footwear. Even when using this helmet, it is impossible to guarantee the prevention of serious injury or death. Take every possible measure to reduce risk. The helmet is not fire-resistant and does not contain fire-retardant materials. The ICON® helmet must fit correctly and be used strictly as intended. Incorrect fit or use may result in serious injury or death.
WARNING: any helmet that has been subjected to an impact must be replaced.
A motorcycle helmet is designed to absorb only one impact. Energy is partly absorbed through irreversible deformation of the shell and the inner energy-absorbing layer. After an impact, the EPS layer may be compressed and damaged even if this is not visible from the outside. After any impact, the helmet’s safe service life is considered over. Such a helmet should be destroyed and replaced, even if it looks undamaged.
Unfasten the chin strap, hold both sides of it and widen the helmet opening. Put the helmet on. If it fits loosely, try a smaller size.
The liner should fit snugly around the head and the cheek pads should press against the cheeks. There should be no gap between the forehead and the liner.
Hold the helmet on both sides and try to move it up and down and from side to side. The liner should pull the skin of your face and head. If the helmet moves freely, it is too big.
Hold the helmet at the front and back and try to roll it forward and backward.

Fasten the strap as tightly as possible without choking. The strap should not sag and should fit snugly under the chin. Try to pull the helmet off forward and backward. If it comes off, it must not be used.
Check the helmet position: it should not sit too high or too low or restrict your view. Your eyes should be roughly in the center of the eyeport.

Check the visor and internal sun shield in all positions to make sure they do not obstruct your view.
Before each use, make sure the helmet is in good condition. Check for loose parts, screws and rivets, strap wear, cracks and other damage. Make sure the liner and cheek pads are correctly installed and the strap fastens properly.
The visor supplied with the helmet meets VESC-8 requirements.
Tinted visors marked “for daytime use only” with the corresponding European sun symbol must not be used at dusk, in darkness, in poor visibility or in adverse weather. Colored visors that interfere with recognizing traffic signals must not be used on public roads. Choose a visor according to the conditions and replace it immediately if it has scratches, cracks, wear or any damage that impairs visibility.
The same requirements apply to the internal drop-down sun shield, Pinlock® inserts and Tear-Off films, if used.
Correct fastening and tightening of the strap are critically important. An incorrectly fastened strap may fail to hold the helmet in a crash.

Important: the snap is only for securing the loose end. It does not replace threading the strap through the D-rings.


Check that the mechanisms work and the visor is clear. Remove dirt, insects and residue that obstruct your view. Scratches, cracks and other damage significantly impair visibility; a damaged visor must be replaced.

The chin bar provides protection only in the fully lowered and locked position.
Do not ride the motorcycle with the chin bar raised and do not move it while riding. Before riding, pull the chin bar up hard several times to make sure it is locked. If it does not lock, stop using the helmet and replace it.


The helmet has an enlarged chin air intake, two adjustable forehead intakes, an upper Supervent intake and a large rear exhaust channel.
Any helmet reduces hearing. Keep this in mind and constantly monitor your surroundings.
Before using a communication system, study the local, regional, national and international requirements for using communication devices while operating a vehicle.
The chin vent opens by pushing the switch up and closes by pushing it down.

The two forehead vents open by pushing the covers up and close by pushing them down.

The top vent opens by pressing its rear part and closes by pressing the front part.


The liner and cheek pads are an important part of the protective construction and must be installed correctly.
The interior lining is made of moisture-wicking HydraDry material. The fit can be changed by installing thinner cheek pads for a looser fit or thicker ones for a snugger fit.

Gently hand wash the removed liner and cheek pads in cold water with baby shampoo. Dry naturally. Do not machine wash or use a tumble dryer.
Emergency removal of the pads and helmet involves a risk of injury and must be performed by qualified emergency personnel.
The injured person’s head must not be moved during the procedure. The head in the helmet must be securely stabilized.


When in use, the curtain must be installed correctly.

Firmly grasp the curtain and pull down. Hand wash in cold water with baby shampoo and air dry. Do not use a washing machine or tumble dryer.
Using a helmet with signs of wear may result in serious injury or death.
A helmet has a limited service life. Replace it when there are noticeable signs of aging or wear: a change in fit, cracks, corrosion, abrasion or fraying of parts.
Manufacturer’s recommendation: replace the helmet no later than 5 years after the date of manufacture shown on the inner liner, even if it has not been subjected to an impact and has no visible damage.
When you buy a new helmet, destroy the old one to prevent reuse. Do not sell or give away your old helmet. Over time, the protective liner takes the shape of the owner’s head and may not provide proper protection for another person.
No personal protective equipment can prevent all injuries in a crash or fall. Motorcycling is inherently dangerous, and using a helmet does not rule out injury or death. Even a low-speed crash can have serious consequences. The user assumes the risks associated with this activity. The provisions of the original manual on waiving claims against Icon® Motosports, Lemans Corporation and Zhejiang Vista Sports Goods Co. Ltd. apply to the extent permitted by the laws of the respective country.