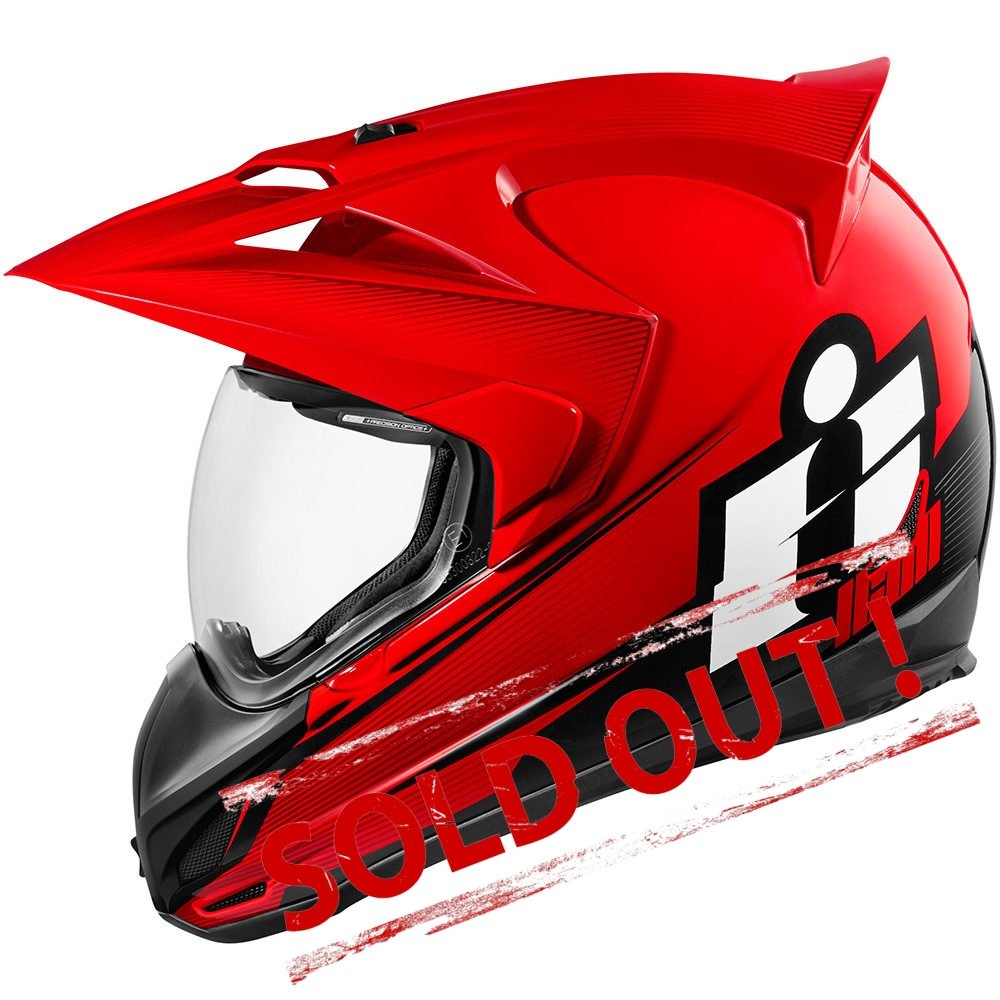
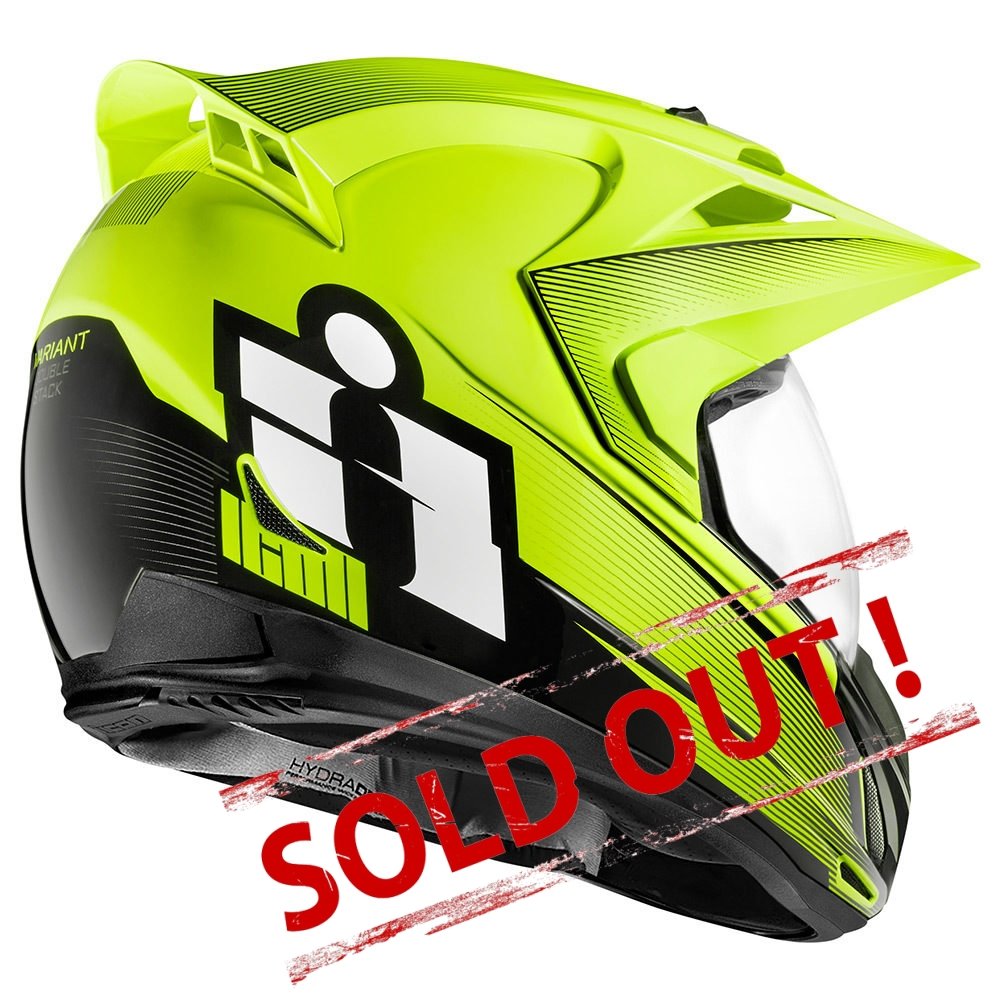
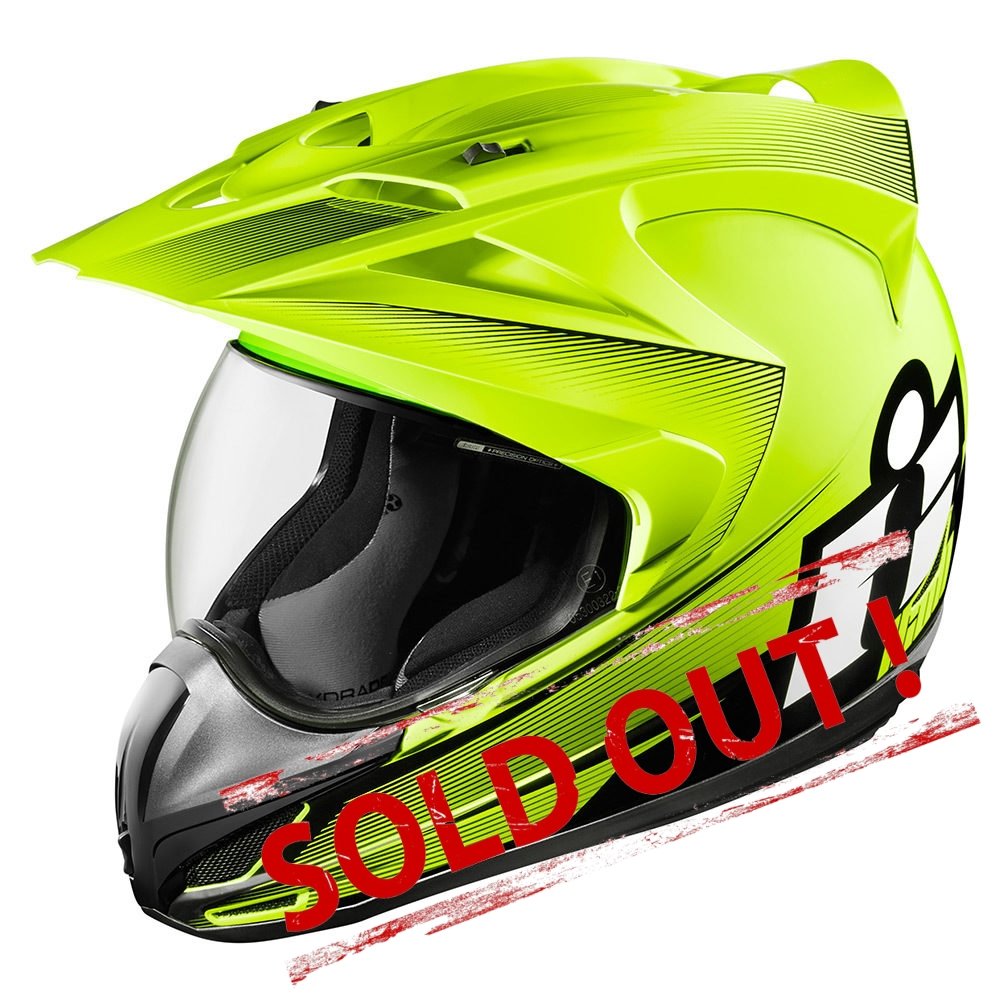
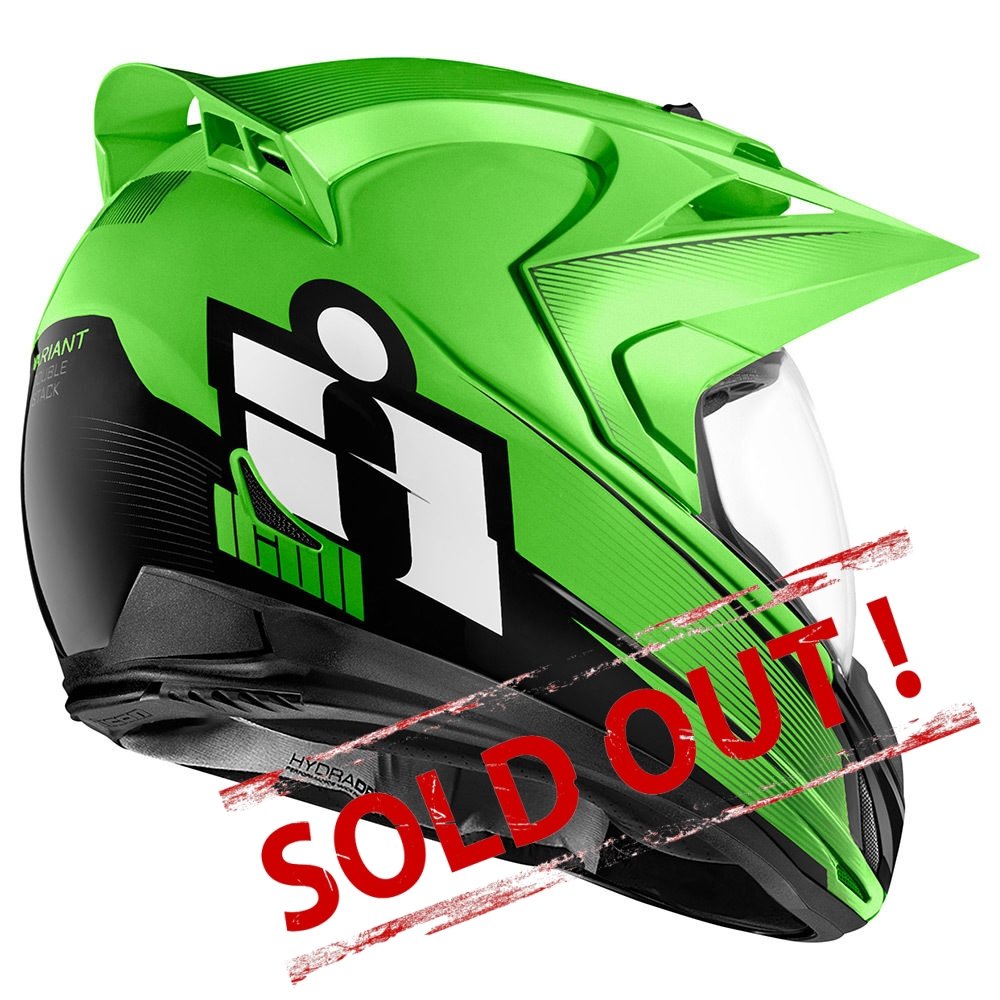
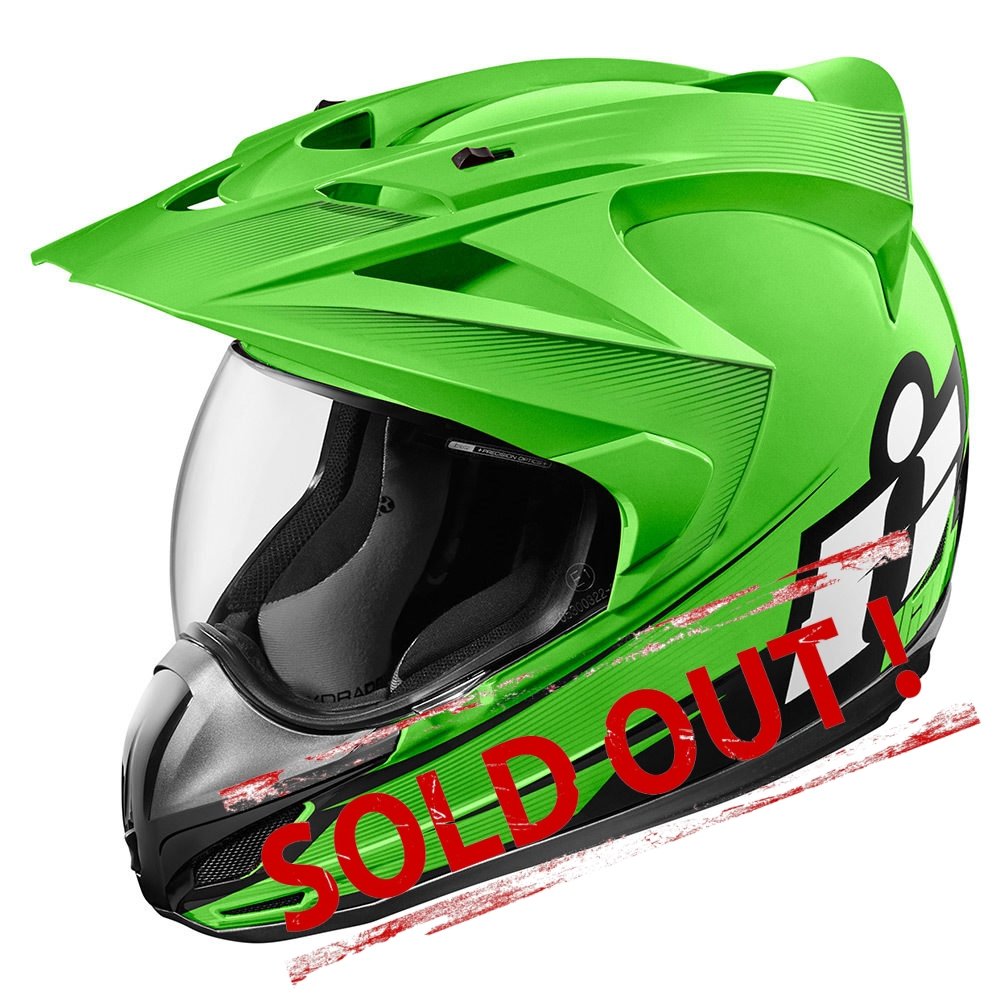
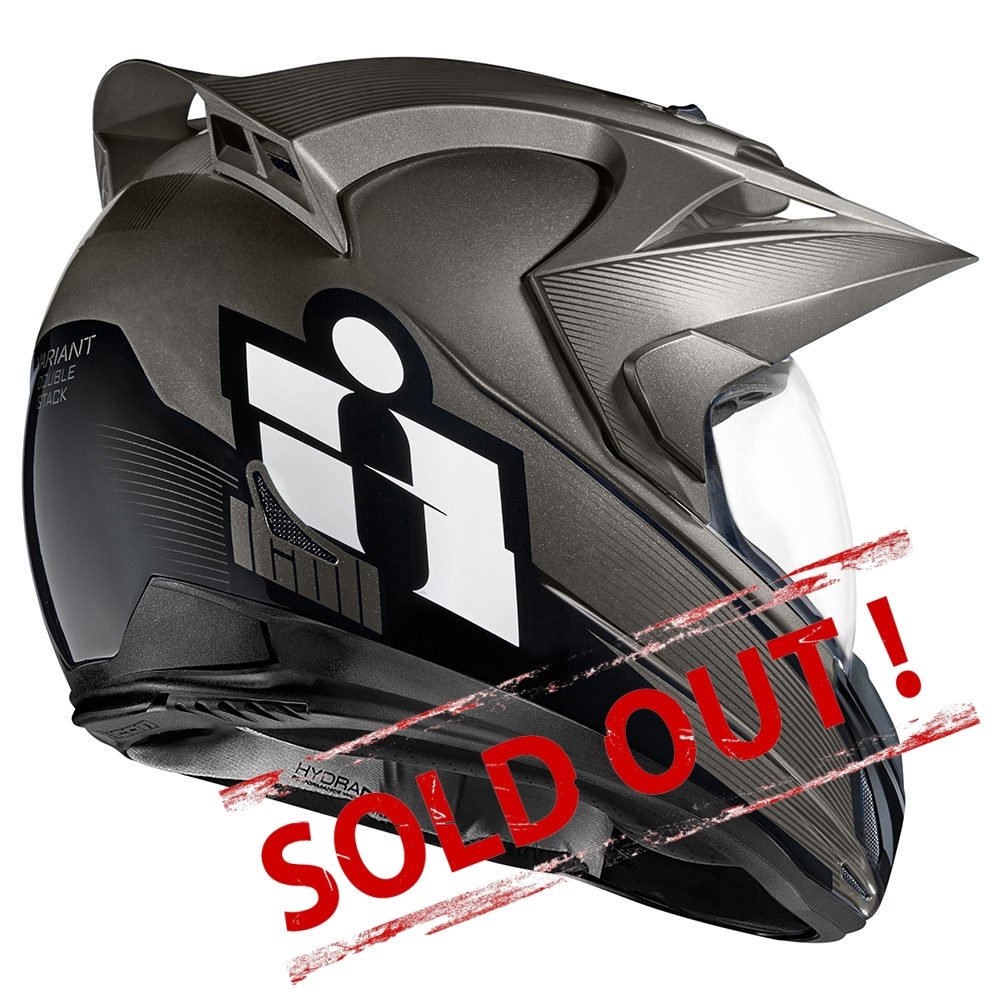
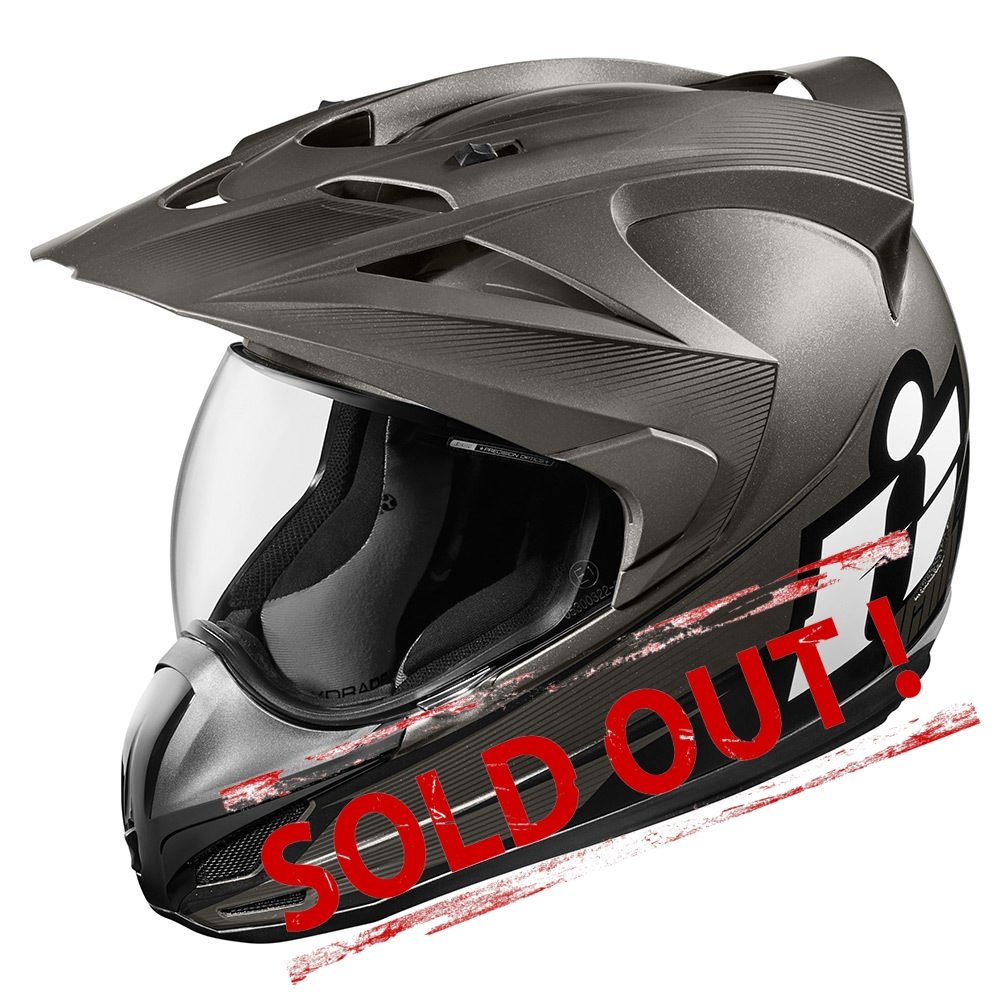
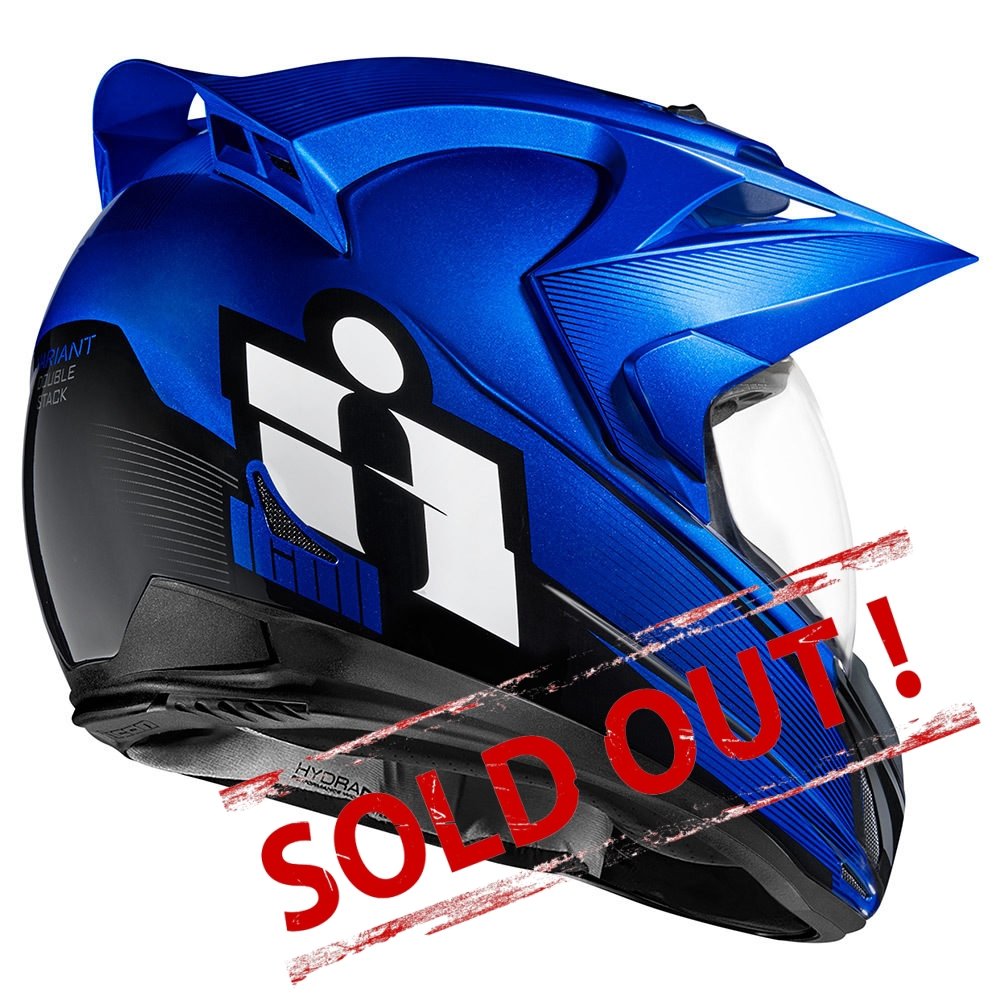
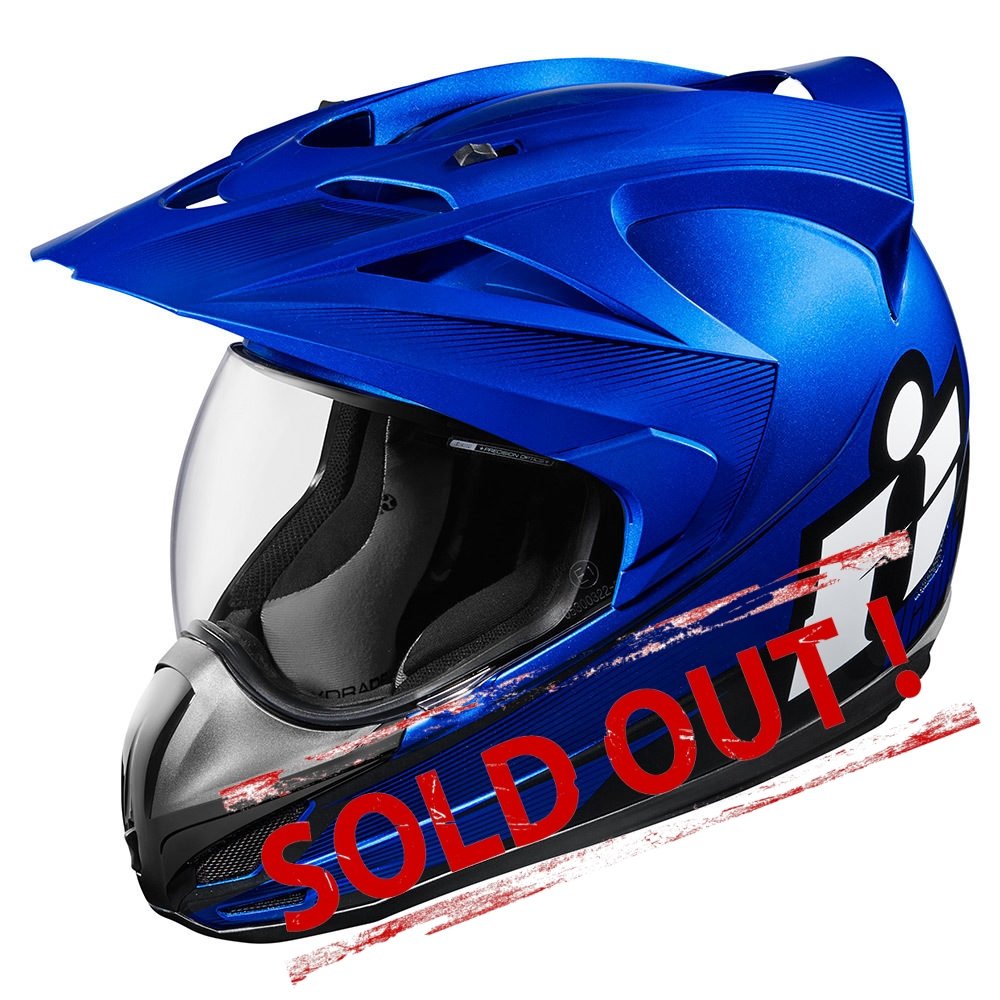
Мода на убойную графику приходит и уходит, а вот цвета — вечны. Тому, кто не желает больше щеголять в компании со злющими змеями и милыми, милыми черепами, мы рады представить мотошлем Variant Double Stack. Достаточно крутой и стильный для дерзкой боевой вылазки, и достачтоно респектабельный для того, чтобы в нем можно было показаться на глаза любимой бабуле, мотошлемVariant Double Stack с большим успехом выступает во всех ипостасях. Модель представлена в широком ассортименте цветовых исполнений.

The ICON® VARIANT PRO™ helmet meets the motorcycle helmet safety standards DOT FMVSS 218 (USA), ECE 22.05 (EUROPE), SAI AS1698:2006 (AUSTRALIA) and PSC (JAPAN). These head protection standards are recognized by 50 countries. Before attempting to repair or replace parts on the helmet, refer to the diagram below to familiarize yourself with the specific names and terms used to describe the VARIANT PRO™ helmet.

DO NOT MODIFY THE HELMET. To keep this helmet effective, its construction and components must not be altered. Paints and adhesives can damage the helmet without the user noticing and reduce its effectiveness.
Thanks to industry-leading pneumatic molding processes, the composite materials used to make the VARIANT PRO™, such as fiberglass, Spectra® and carbon fiber, form a special mesh structure system that provides superb strength along with centered mass and minimal helmet weight.
The dual-density EPS liner of the VARIANT PRO helmet actually consists of two expanded polystyrene layers that provide maximum impact protection and dampen impact force. In addition, both layers have many air channels to distribute air from the external ventilation system.

No helmet can protect against all possible injuries. For your safety, choose a helmet that fits you correctly. For maximum head protection, the helmet must fit snugly and be securely fastened under the chin.
To ensure a proper fit, follow these instructions:

Note that the helmet is adjustable. Before buying, try on the helmet with the shield in different positions to make sure it meets your requirements and the visor in the open position does not obstruct your vision. Repeat these steps until you find a helmet of the right size.
For the helmet to work properly, the chin strap must always be securely fastened when worn. With the chin strap fastened, the helmet must not come off when pulled from the center of the back. Periodically check the chin strap to make sure vibration has not loosened it. To check, simply pull on it a little.
To securely fasten the D-ring retention system, thread the end of the chin strap through the D-rings exactly as shown in the figure below. Fasten the snap on the chin strap to secure the loose end of the strap once it is securely fastened. The only function of the snap at the end of the chin strap is to keep it from flapping in the airflow. It is not part of the retention system. It should be used separately, without threading through the D-rings, as shown below.
To unfasten the D-ring retention system, release the loose end of the chin strap from the snap. Then pull the red tab at the end of the lower D-ring to loosen the chin strap. After that, pull the end of the chin strap back through the D-rings to release it completely.

MAKE SURE THE CHIN STRAP IS FASTENED ACCORDING TO THE INSTRUCTIONS ABOVE. MISHANDLING THE STRAP MAY RESULT IN SERIOUS INJURY OR DEATH.
Safe use warning: Do not rely on the chin strap snap alone. It only serves to keep the loose end of the strap out of the way while riding. Fasten the retention system only as shown in the image.

SAFETY WARNING: Do not ride without the peak attached. If the visor opens while riding without the peak, the force of the air acting on the fully open visor may tear the visor off the helmet.

The Variant Pro™ has a modular liner lined with Icon’s exclusive moisture-wicking HydraDry™ material. For maximum comfort, the helmet can be customized by replacing the existing comfort liner with a thinner pad (for a looser fit) or a thicker one (for a snugger fit). To order replacement parts, visit your local dealer or www.rideicon.com.

SAFE USE WARNING: The liner is important for the intended protection of the helmet. Make sure it is correctly installed when in use.
Ventilation is the main feature of the VARIANT PRO helmet. The helmet has eight intake and two exhaust vents. The forehead vents are angled to provide direct ventilation at speed. Large switches that are easy to use with gloves let you adjust cooling while riding, and two large rear exhaust openings let hot air escape.
The deep-channeled EPS liner improves ventilation by directing air more efficiently. The chin vent is designed for breathing in a fully tucked position, providing airflow at the corresponding angle of attack. The ventilation system is completed by low-pressure exhaust vents.
The VARIANT PRO™ helmet has four simple switches that let you control airflow into the helmet. To open the forehead vents (1a), press on the raised parts. To close them, simply lift them back to their original position. Similarly, to open the side vents (1a), press on the raised area, and to close them, lift it back.
To open the chin/visor vent (2a), press the switch inside the chin bar of the helmet. To close it, press the switch in the slot area.

SAFETY WARNING: to reduce the risk of serious injury or death, always use the helmet correctly.
ONE-IMPACT RULE — AFTER ANY SEVERE IMPACT, THE HELMET MUST BE REPLACED. Helmets are designed to protect against one impact only. The helmet is designed so that the head is protected in an impact through damage to the shell and EPS liner. In any hard impact on the helmet, the area of the liner that takes the impact absorbs and dissipates the force, which compresses it and damages the liner. The damage may not be visible. Even if no VISIBLE damage is found on the shell, the helmet will be unfit for use after one impact. After an impact, replace the helmet with a new one and dispose of the old one, even if it appears undamaged.
HEARING: wearing any helmet reduces a person’s ability to hear. A person who uses a helmet should be aware that their ability to hear the surrounding world is reduced. Not knowing that hearing is reduced when wearing a helmet may lead to an accident that can cause injury or death.
A helmet has a limited service life and must be replaced when typical signs of wear appear, such as changes in shape, cracks, corrosion, abrasion or other signs of material wear that could lead to helmet damage.
The advice to replace your helmet every five years is based on the consensus of most helmet manufacturers. Glues, resins and other materials used in helmet production can affect the liner material over time. Skin oils, sweat and cosmetics, as well as normal wear of the materials, also lead to deterioration of the helmet liner. In addition, petroleum-based products in cleaners, paints, fuel and other commonly used substances can damage the materials used in helmet production, potentially impairing their performance. Experience shows that helmet quality standards are revised every five years. Combined with statistics on improvements in materials, design and manufacturing methods, this leads to the conclusion that it is in the owner’s interest to replace their helmet at least every five years. After buying a new helmet, dispose of the old one so that it is not reused. Do not sell or give away your old helmet, even if it is undamaged. Over time, the protective layer in a helmet takes the shape of the rider’s head. Such a helmet cannot provide another rider with a comparable level of protection.
No personal protective equipment can protect against all types of injuries in a crash or fall from a motorcycle. No riding gear can provide complete protection against impacts or abrasion in a crash or fall from a motorcycle. Motorcycling is inherently dangerous, and using this helmet cannot prevent injury or death. Even at low speed, a crash can result in serious injury or death. By using this helmet, the user assumes all risks associated with this activity that may result in injury or death. The user hereby waives all claims and lawsuits against Icon® Motosports, Lemans Corporation and J-TECH Corp in the event of death or injury resulting from the use of Icon Motosports products.