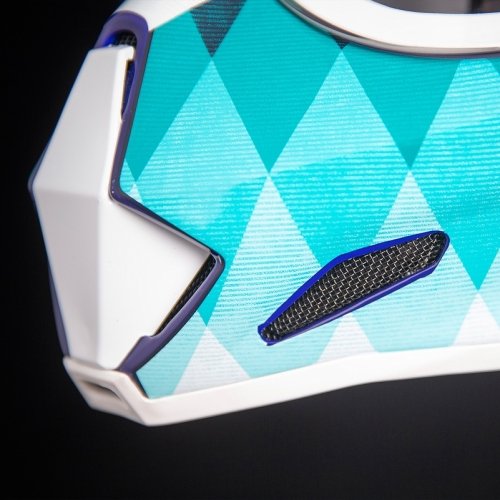
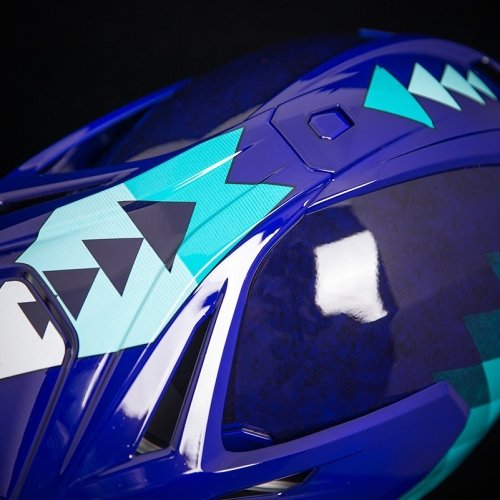
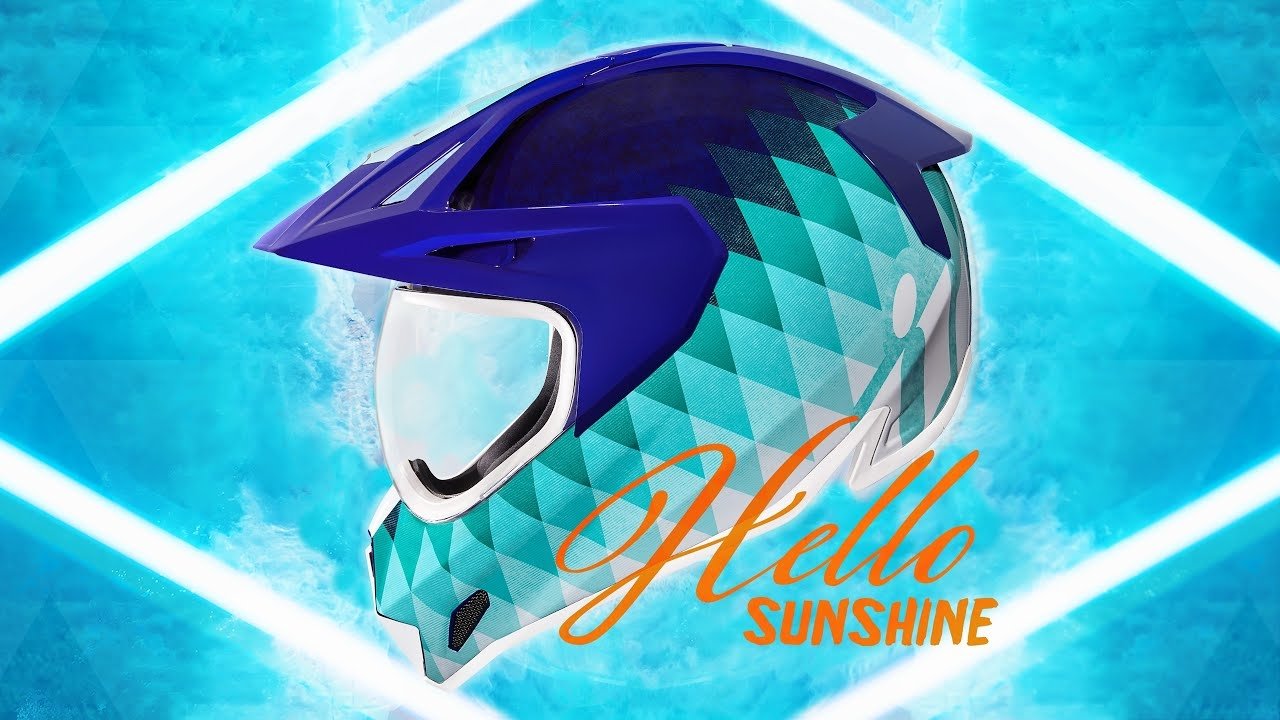
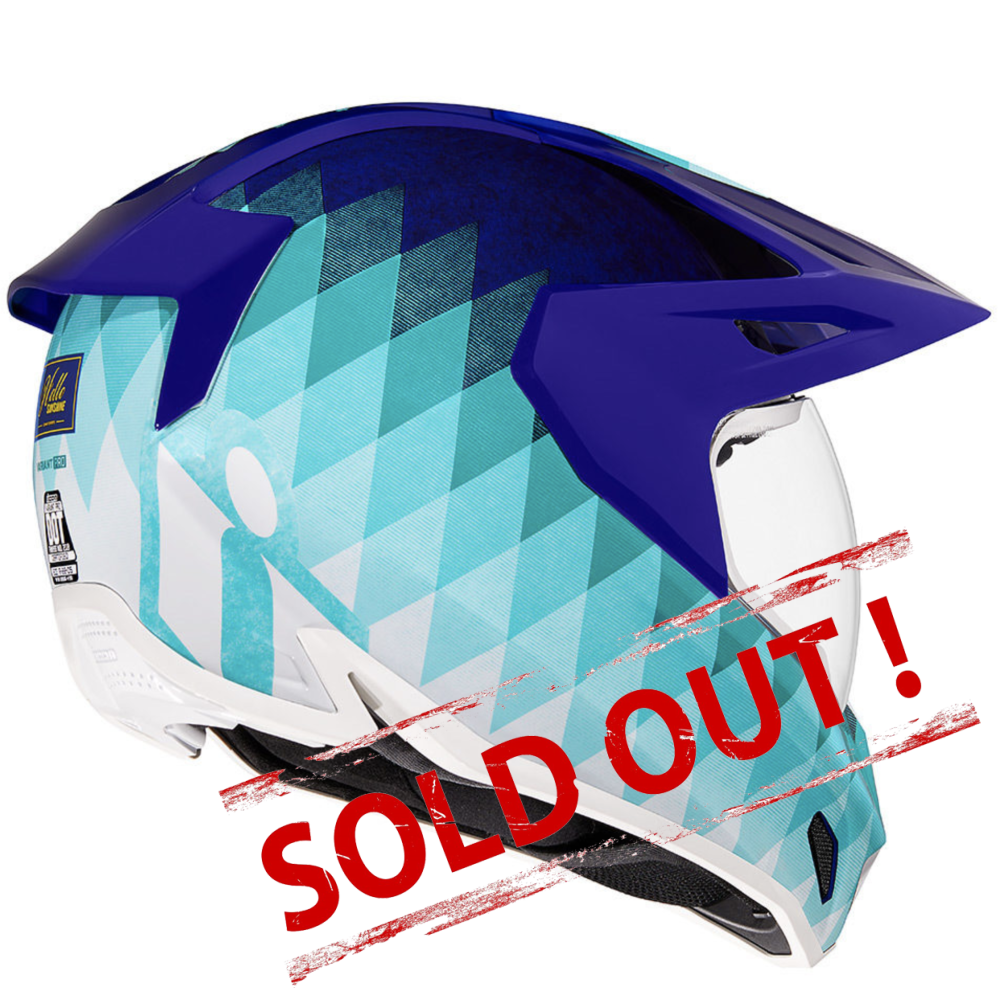
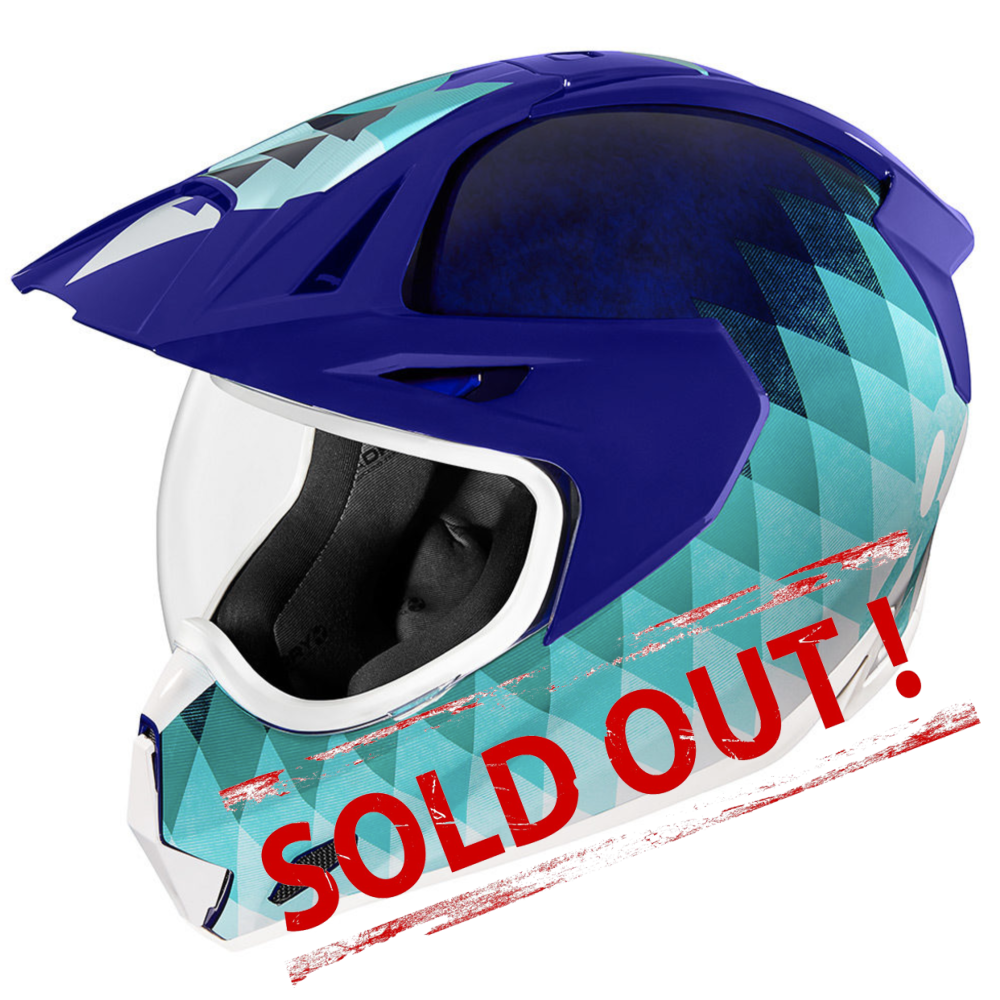
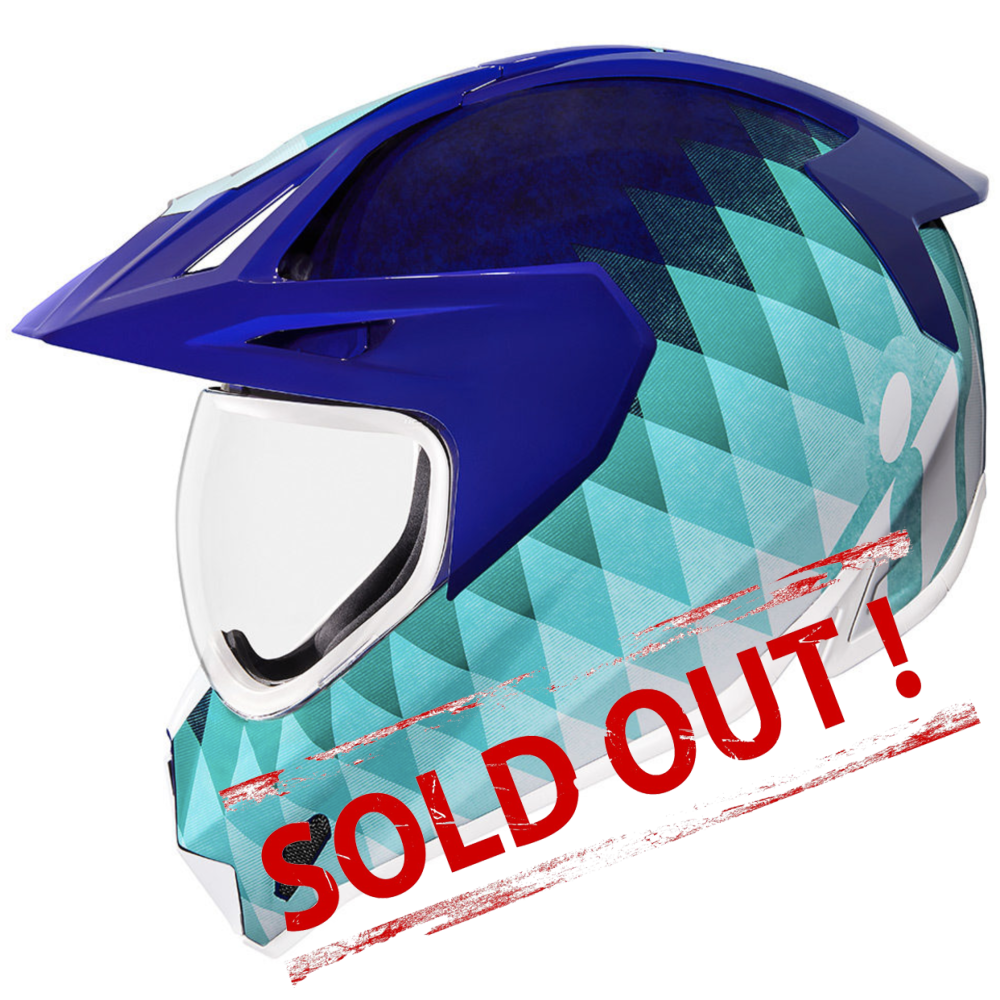
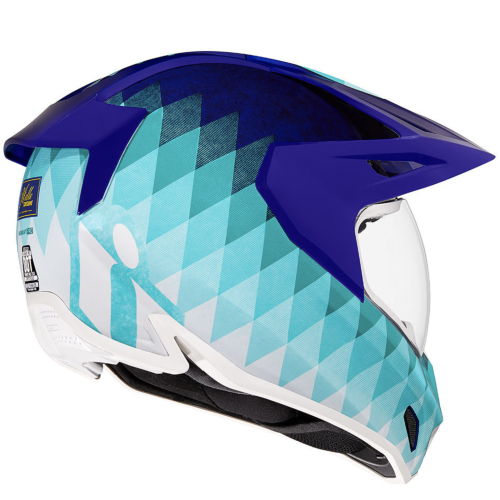
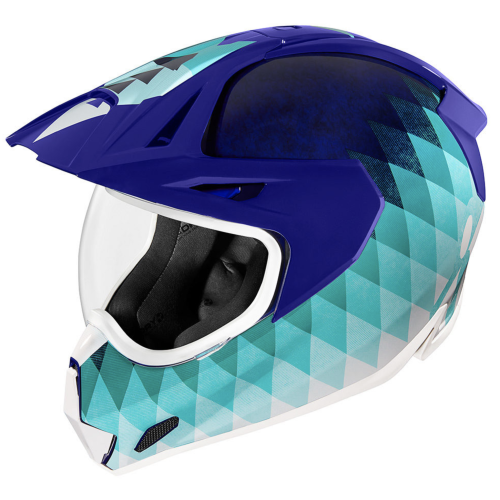
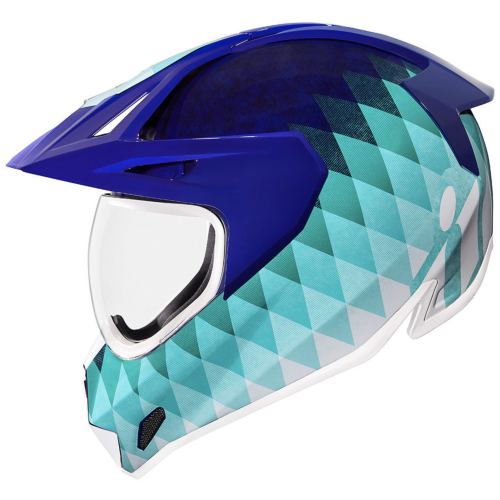
Здравствуй Солнышко! Низко над горизонтом, сквозь арктический холод оно заливает лучами безжизненный ландшафт в поисках моментов величия. Это жестокая местность где лучше держаться земли что бы не разбиться при падении. Всегда быть в защите и избегать опасность — лучший жизненный совет, который мы можем дать. ICON VARIANT PRO HELLO SUNSHINE высокозащищенный и удобный мотошлем. Отвечает всем мировым стандартам безопасности. Отличная вентиляция, широкий угол обзора, антизапотевающее покрытие визора и козырек для защиты от слепящего солнца. Шторка подбородка для защиты от пыли, а разрезы по бокам скорлупы для максимальной вентиляции. Мотошлем ICON VARIANT PRO HELLO SUNSHINE отлично подходит для городской эксплуатации, длительных поездок и мотоэкстрима.
Let’s be honest — motorcycle helmets look great, and you’d like to keep yours looking like new for as long as possible. Over many years of practice we have worked out several effective ways to do this, and we are happy to share them.
We strongly do not recommend using solvents, carburetor cleaner, brake fluid or any other substances in the cans, tins and bottles lying around your garage, including unlabeled ones, to clean your helmet. Chemicals and strong solvents can seriously damage the materials the helmet is made of — please don’t do that to your helmet!
* Never wash or dry the liner in a washing machine or dryer.
Protecting your helmet during long-term storage is definitely a good idea. Keep the helmet in the special bag included. Store it in a safe, dry place out of direct sunlight.
The visor surface must be cleaned very carefully to avoid scratches. Place a clean, warm, damp, soft cloth over the outside of the visor for at least 5 minutes to soften dried bugs and dirt (don’t skip this step!). Then gently clean the visor with a clean soft cloth, warm water and mild soap. After that, wipe the visor with a clean soft cloth dampened with clean water to remove soap residue. Dry the visor by gently wiping it with a clean soft cloth.
Never use solvents, window or glass cleaners, or any other chemical cleaners to clean the visor.
Do not apply decals, tape or stickers to the visor.
If your visor has an anti-scratch or anti-fog coating, keep in mind that household cleaners (such as glass cleaners, all-purpose sprays, furniture polish) can leave unwanted marks and in some cases damage the visor itself.
Do not use any cleaners or detergents on the inside of the visor. Using anything other than a clean soft or microfiber cloth and water to gently wipe the inside of the visor can damage or reduce the effectiveness of the anti-fog coating.
Protect the visor when it is not fitted to the helmet. Store the visor in a dry, safe place, away from direct sunlight and extremely high or low temperatures. Make sure the visor cannot be scratched, damaged by impact or otherwise deformed, is not under heavy objects and is not stored near fuel or solvents. We recommend storing the visor in a soft microfiber bag or pouch.
If your helmet has an internal drop-down visor, be sure to follow the same instructions, as they also apply to the internal drop-down visor.
Although a helmet is hard and has a very strong and reliable construction, it requires careful handling. Dropping a helmet on asphalt or another hard surface can significantly impair its functionality. The user should be aware that an impact may cause damage that is invisible to the eye.
The riding gear manufacturer ICON Motosports warns: when taking part in activities that require a helmet on your head, it is strongly recommended to avoid hitting your head on anything whatsoever. If you suspect reduced helmet functionality, or after ANY impact during use, replace the helmet. We guarantee it will cost less.
No motorcycle helmet in the world can protect against ALL possible impacts. For your safety, you need to choose a helmet that fits correctly. For maximum head protection, the helmet must fit snugly and follow the shape of your skull as closely as possible. To work properly, the helmet must be securely fastened under the chin.
Wrap a flexible measuring tape around your head at its widest point above the eyebrows and ears.
Using this measurement, find your size in the size charts below according to the helmet brand and model:
ICON AIRFLITE / DOMAIN / THRESHOLD
BILTWELL LANE SPLITTER / GRINGO S SV
THOR FLEET / SECTOR 2
| Shell | 2XS | XS | S | M | L | XL | 2XL | 3XL |
|---|---|---|---|---|---|---|---|---|
| Circumference cm | 51–52 | 53–54 | 55–56 | 57–58 | 59–60 | 61–62 | 63–64 | 65–66 |
ICON ULTRAFLITE / AIRFRAME PRO
THOR REFLEX
| Shell | XS | S | M | L | XL | 2XL | 3XL |
|---|---|---|---|---|---|---|---|
| Circumference cm | 54–55 | 55–56 | 57–58 | 58–59 | 60–61 | 62–63 | 64–65 |
ICON AIRFORM
| Shell | XS | S | M | L | XL | 2XL | 3XL |
|---|---|---|---|---|---|---|---|
| Circumference cm | 53–54 | 55–56 | 57–58 | 58–59 | 60–61 | 62–63 | 64–65 |
Skull shape in the horizontal plane is just as important as circumference. To determine your head shape, put on a balaclava (it will flatten your hair) and take a photo of your head from above, or ask someone to assess it. Round head — width and length are almost the same, it fits into a circle. Intermediate oval head — slightly longer than it is wide, the most common skull shape, it fits into a regular oval. Long oval — noticeably longer than it is wide, it fits into a narrow oval.
Different helmet models are made for different skull shapes — keep this in mind when choosing a helmet:
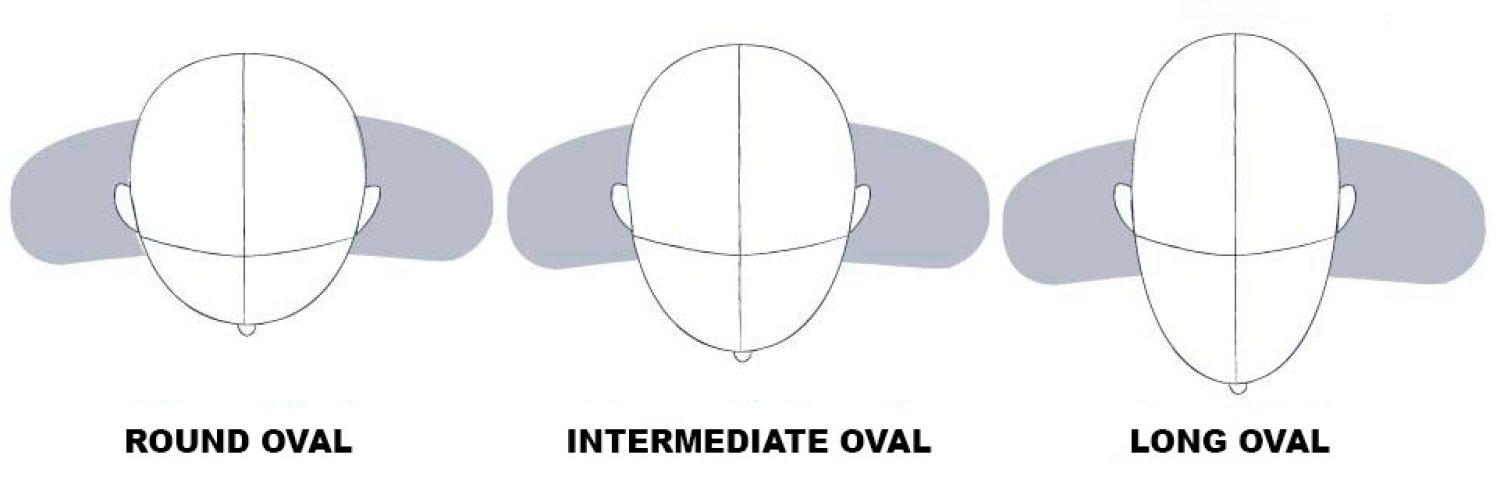

If you can’t determine your head shape (this sometimes happens), it is most likely an intermediate oval, because a round head shape (equal length and width) is the most obvious.
If your head shape doesn’t match the helmet shape, you need to go one or two sizes up, depending on how big the difference in skull oval is. In that case the liner will fit your skull unevenly and not over its whole area, which has a negative effect on impact energy absorption as well as on the helmet’s noise insulation.
NOTE: The helmet’s inner pads compress with use — keep this in mind when trying it on. The helmet should fit snugly and should not press painfully on your skull. The pressure on your cheeks can be quite strong, and they may be squeezed. The cheek pads are the thickest and compress the most.
We don’t believe you need to wear a helmet for a while to get used to it. A helmet chosen correctly by size and shape fits comfortably and snugly right away — proven by hundreds of customers! The only thing that may be uncomfortable is a tight entry when taking the helmet off and putting it on. Over time the pads at the entry will soften, and the helmet will be much easier to put on and take off. Focus on how your head feels inside the helmet!

The ICON® VARIANT PRO™ helmet meets the motorcycle helmet safety standards DOT FMVSS 218 (USA), ECE 22.05 (EUROPE), SAI AS1698:2006 (AUSTRALIA) and PSC (JAPAN). These head protection standards are recognized by 50 countries. Before attempting to repair or replace parts on the helmet, refer to the diagram below to familiarize yourself with the specific names and terms used to describe the VARIANT PRO™ helmet.

DO NOT MODIFY THE HELMET. To keep this helmet effective, its construction and components must not be altered. Paints and adhesives can damage the helmet without the user noticing and reduce its effectiveness.
Thanks to industry-leading pneumatic molding processes, the composite materials used to make the VARIANT PRO™, such as fiberglass, Spectra® and carbon fiber, form a special mesh structure system that provides superb strength along with centered mass and minimal helmet weight.
The dual-density EPS liner of the VARIANT PRO helmet actually consists of two expanded polystyrene layers that provide maximum impact protection and dampen impact force. In addition, both layers have many air channels to distribute air from the external ventilation system.

No helmet can protect against all possible injuries. For your safety, choose a helmet that fits you correctly. For maximum head protection, the helmet must fit snugly and be securely fastened under the chin.
To ensure a proper fit, follow these instructions:

Note that the helmet is adjustable. Before buying, try on the helmet with the shield in different positions to make sure it meets your requirements and the visor in the open position does not obstruct your vision. Repeat these steps until you find a helmet of the right size.
For the helmet to work properly, the chin strap must always be securely fastened when worn. With the chin strap fastened, the helmet must not come off when pulled from the center of the back. Periodically check the chin strap to make sure vibration has not loosened it. To check, simply pull on it a little.
To securely fasten the D-ring retention system, thread the end of the chin strap through the D-rings exactly as shown in the figure below. Fasten the snap on the chin strap to secure the loose end of the strap once it is securely fastened. The only function of the snap at the end of the chin strap is to keep it from flapping in the airflow. It is not part of the retention system. It should be used separately, without threading through the D-rings, as shown below.
To unfasten the D-ring retention system, release the loose end of the chin strap from the snap. Then pull the red tab at the end of the lower D-ring to loosen the chin strap. After that, pull the end of the chin strap back through the D-rings to release it completely.

MAKE SURE THE CHIN STRAP IS FASTENED ACCORDING TO THE INSTRUCTIONS ABOVE. MISHANDLING THE STRAP MAY RESULT IN SERIOUS INJURY OR DEATH.
Safe use warning: Do not rely on the chin strap snap alone. It only serves to keep the loose end of the strap out of the way while riding. Fasten the retention system only as shown in the image.

SAFETY WARNING: Do not ride without the peak attached. If the visor opens while riding without the peak, the force of the air acting on the fully open visor may tear the visor off the helmet.

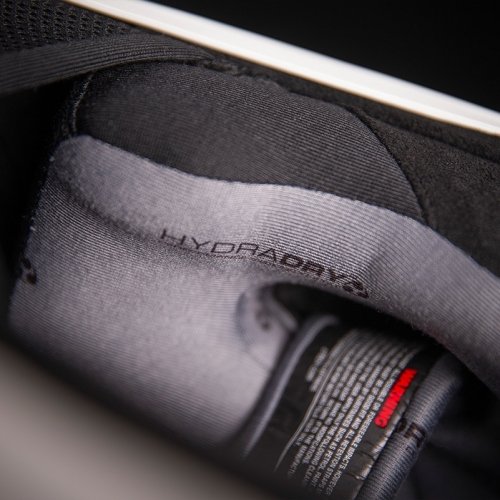
The Variant Pro™ has a modular liner lined with Icon’s exclusive moisture-wicking HydraDry™ material. For maximum comfort, the helmet can be customized by replacing the existing comfort liner with a thinner pad (for a looser fit) or a thicker one (for a snugger fit). To order replacement parts, visit your local dealer or www.rideicon.com.

SAFE USE WARNING: The liner is important for the intended protection of the helmet. Make sure it is correctly installed when in use.
Ventilation is the main feature of the VARIANT PRO helmet. The helmet has eight intake and two exhaust vents. The forehead vents are angled to provide direct ventilation at speed. Large switches that are easy to use with gloves let you adjust cooling while riding, and two large rear exhaust openings let hot air escape.
The deep-channeled EPS liner improves ventilation by directing air more efficiently. The chin vent is designed for breathing in a fully tucked position, providing airflow at the corresponding angle of attack. The ventilation system is completed by low-pressure exhaust vents.
The VARIANT PRO™ helmet has four simple switches that let you control airflow into the helmet. To open the forehead vents (1a), press on the raised parts. To close them, simply lift them back to their original position. Similarly, to open the side vents (1a), press on the raised area, and to close them, lift it back.
To open the chin/visor vent (2a), press the switch inside the chin bar of the helmet. To close it, press the switch in the slot area.

SAFETY WARNING: to reduce the risk of serious injury or death, always use the helmet correctly.
ONE-IMPACT RULE — AFTER ANY SEVERE IMPACT, THE HELMET MUST BE REPLACED. Helmets are designed to protect against one impact only. The helmet is designed so that the head is protected in an impact through damage to the shell and EPS liner. In any hard impact on the helmet, the area of the liner that takes the impact absorbs and dissipates the force, which compresses it and damages the liner. The damage may not be visible. Even if no VISIBLE damage is found on the shell, the helmet will be unfit for use after one impact. After an impact, replace the helmet with a new one and dispose of the old one, even if it appears undamaged.
HEARING: wearing any helmet reduces a person’s ability to hear. A person who uses a helmet should be aware that their ability to hear the surrounding world is reduced. Not knowing that hearing is reduced when wearing a helmet may lead to an accident that can cause injury or death.
A helmet has a limited service life and must be replaced when typical signs of wear appear, such as changes in shape, cracks, corrosion, abrasion or other signs of material wear that could lead to helmet damage.
The advice to replace your helmet every five years is based on the consensus of most helmet manufacturers. Glues, resins and other materials used in helmet production can affect the liner material over time. Skin oils, sweat and cosmetics, as well as normal wear of the materials, also lead to deterioration of the helmet liner. In addition, petroleum-based products in cleaners, paints, fuel and other commonly used substances can damage the materials used in helmet production, potentially impairing their performance. Experience shows that helmet quality standards are revised every five years. Combined with statistics on improvements in materials, design and manufacturing methods, this leads to the conclusion that it is in the owner’s interest to replace their helmet at least every five years. After buying a new helmet, dispose of the old one so that it is not reused. Do not sell or give away your old helmet, even if it is undamaged. Over time, the protective layer in a helmet takes the shape of the rider’s head. Such a helmet cannot provide another rider with a comparable level of protection.
No personal protective equipment can protect against all types of injuries in a crash or fall from a motorcycle. No riding gear can provide complete protection against impacts or abrasion in a crash or fall from a motorcycle. Motorcycling is inherently dangerous, and using this helmet cannot prevent injury or death. Even at low speed, a crash can result in serious injury or death. By using this helmet, the user assumes all risks associated with this activity that may result in injury or death. The user hereby waives all claims and lawsuits against Icon® Motosports, Lemans Corporation and J-TECH Corp in the event of death or injury resulting from the use of Icon Motosports products.